Let’s be real—half the time we buy craft supplies thinking we’ll become the next Bob Ross or Pinterest legend. Then the stuff sits there until the guilt kicks in. I’m no different.
Working with air-dry clay is an easy way to create fun and useful objects at home. Whether you’re using leftover clay or starting a fresh pack, these clay DIY projects require minimal tools and can be completed in just a few hours. Below are 10 creative and simple projects you can try—perfect for gifting, organizing, or decorating.
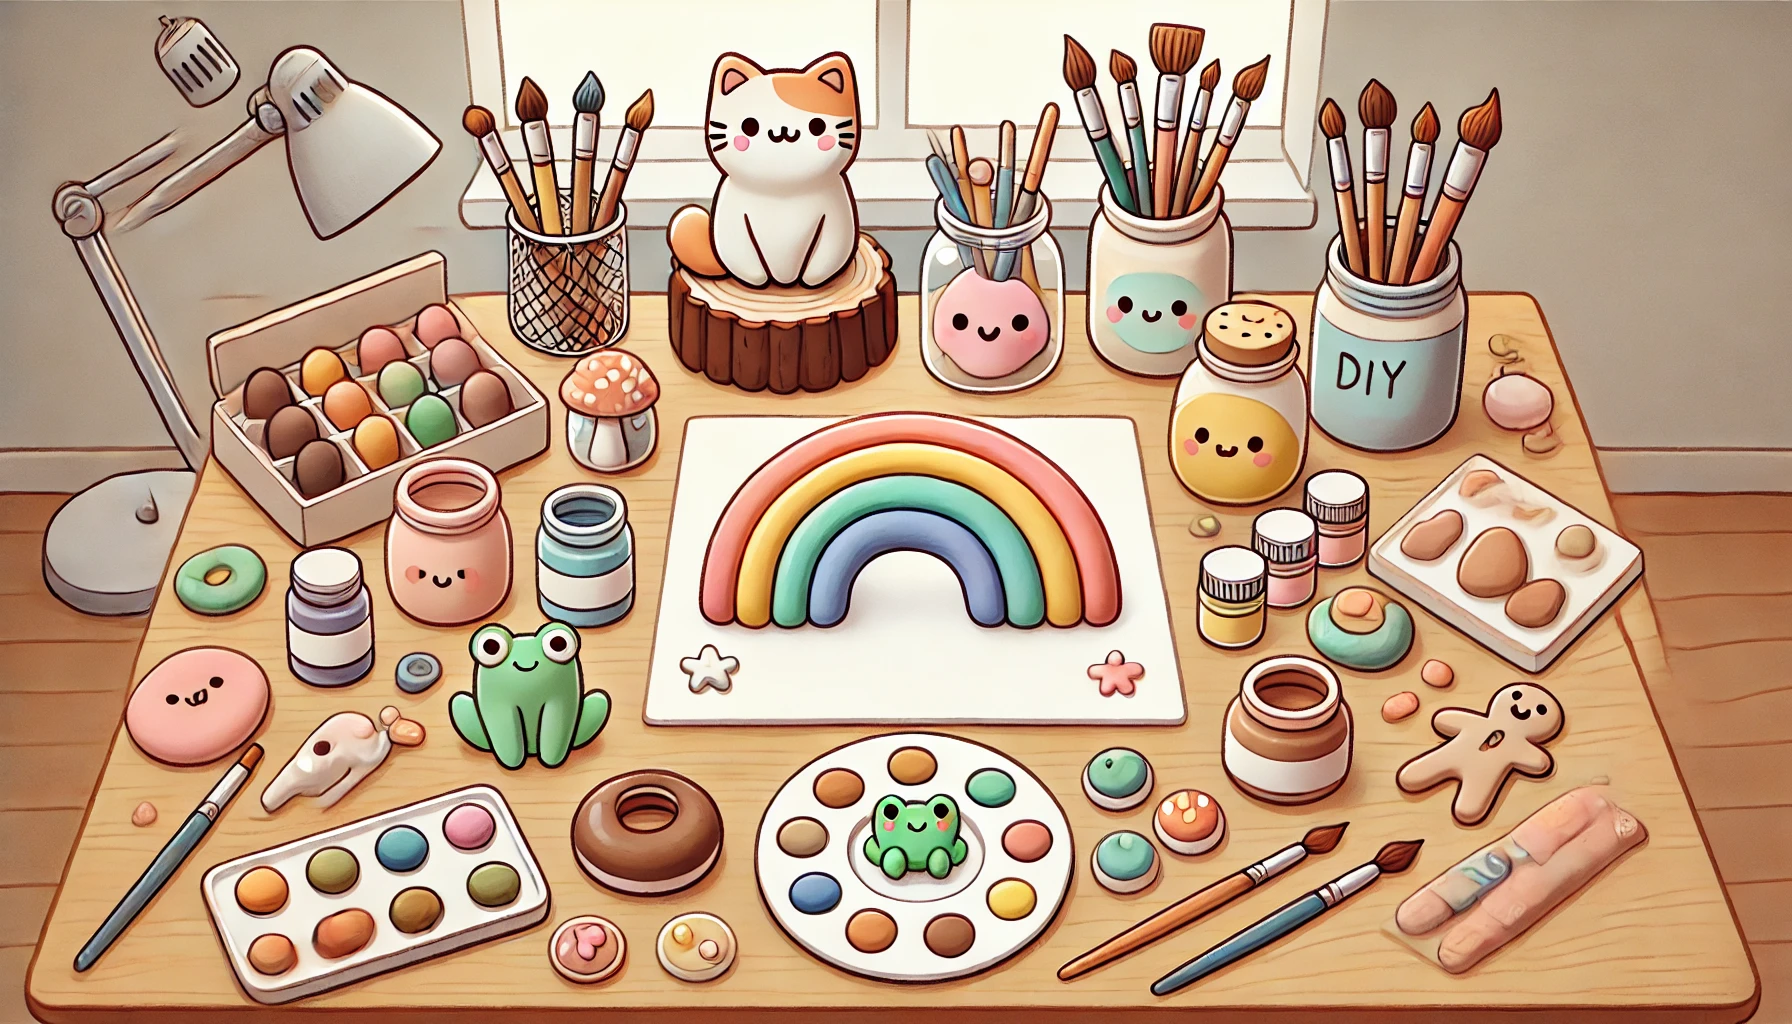
1. Rainbow Paintbrush Rest 🌈
A colorful way to organize your creative space while making something fun and functional.
Steps:
- Roll clay into thin tubes and shape a small rainbow.
- Add a fluffy cloud base under each side to hold a paintbrush across the middle.
- Smooth the surface using a wet brush.
- Let dry fully (24–48 hours).
- Paint with all seven rainbow colors and blue or white for the cloud.
- Add optional messages or initials to personalize.
Tip: Paint markers are perfect for touch-ups or detailing small curves.
DIY Level: Beginner
Why make it? Keeps your brush clean while brightening your desk.
2. Cat Ring Holder 🐱
Keep your rings organized with a cute, upright cat-shaped cone that looks stylish and handmade.
Steps:
- Roll a cone from clay, flatten the bottom.
- Pinch the tip to create two small ears.
- Smooth out any bumps with water and a brush.
- Let dry, then paint all white or with a floral pattern.
Tip: A white base lets detailed painting pop—try blue designs for elegance.
DIY Level: Easy
Why make it? A functional and decorative piece for everyday jewelry storage.
3. Goofy Toothpick Jar
Add some humor to your table or desk with this silly-faced mini container.
Steps:
- Start with a ball of clay and press your finger to form a hollow center (like a pinch pot).
- Widen and smooth the walls evenly.
- Shape details like a headband or silly face.
- Let dry and paint with bold colors and cartoon eyes.
Tip: Modeling paste fixes cracks—don’t toss a project if it dries uneven.
DIY Level: Medium
Why make it? Combines storage with personality and a smile.
4. Mini Bear Tray
This whimsical tray adds character to your workspace or bathroom counter.
Steps:
- Form a wide, shallow pinch pot base.
- Sculpt a tiny bear separately and attach it to the edge of the tray.
- Smooth the connection points and let dry.
- Paint the tray as a puddle, sky, or swirl; paint the bear in browns or pastels.
- Optionally, add details like a moon on the back.
Tip: Use circular objects (like bottle caps) to help shape perfect tray bases.
DIY Level: Medium
Why make it? Great for storing small items or giving as a thoughtful handmade gift.
5. Pocket Pal Magnet
These little companions are fun to carry or stick to your fridge or locker.
Steps:
- Sculpt a round body with simple arms and legs.
- Flatten the back so it can attach with a magnet.
- Let dry and paint in solid colors, then add face details.
- Glue a pom-pom or charm on top for fun.
- Attach a magnet or double-sided tape to the back.
Tip: Use these as gift tags, card decorations, or stocking stuffers.
DIY Level: Easy
Why make it? A portable clay character that’s great for gifting or collecting.
6. Mushroom & Frog Plant Guardian 🍄🐸
Add whimsy to your plant pots with this adorable mushroom topped with a tiny frog.
Steps:
- Sculpt a mushroom cap and stem.
- Make a tiny frog and position it on top.
- Attach both, and press the bottom flat.
- Let dry, then paint with reds, greens, and white hearts or dots.
Tip: Brush-tip acrylic markers work best for fine details on small figures.
DIY Level: Medium
Why make it? Personalizes your plant pots and makes indoor greenery more fun.
7. Mini Blob Vase
Minimal effort, maximum cuteness—this simple vase is perfect for tiny leaves or dried flowers.
Steps:
- Shape a small round ball of clay and flatten the bottom.
- Push a small hole into the top for a stem or flower.
- Smooth all edges and let dry.
- Paint with a bold color and add eyes and a smile.
Tip: Use as a desk buddy—fill it with a single dried stem or mini flag.
DIY Level: Beginner
Why make it? Easy to make and adorable to display anywhere.
8. Surprise Egg with Hidden Figure
Make an egg that hides a small clay character inside—like a handmade Kinder toy.
Steps:
- Sculpt a symmetrical egg.
- Slice in half with floss or string.
- Hollow out both sides with tools.
- Sculpt a small figure to fit inside.
- Let everything dry separately.
- Paint all pieces and glue magnets to the inside for closure.
Tip: Let each side dry flat to keep the shape aligned.
DIY Level: Advanced
Why make it? A layered project that adds a wow factor to handmade gifts.
9. Hanging Dog Figurine
Designed to hang off picture frames or shelf edges, this clay pup adds a playful touch to your space.
Steps:
- Sculpt a dog body with front legs hanging forward.
- Position paws to grip an edge.
- Let dry, then paint with light fur colors and rainbow accents.
- Add details like a heart on the paw or a “cutie mark.”
Tip: Test placement before drying to ensure it balances properly.
DIY Level: Medium
Why make it? Fun decoration that can live on a frame, shelf, or plant pot.
10. Sticker Holder Dog
A cute dog figure that holds your favorite sticker sheets or notes upright.
Steps:
- Sculpt a standing dog with arms raised over its head.
- Use cardboard to press a slit between the paws.
- Let dry fully.
- Paint with classic or spotted patterns.
- Add facial details and a tongue for extra character.
Tip: Make the slit deep enough to hold a full sticker sheet upright.
DIY Level: Easy
Why make it? Show off special stickers or cards in a fun, personal way.
FAQ
1. What clay is best for these DIY projects?
Use air-dry clay. It hardens without baking and is easy to paint once dry.
2. How long does air-dry clay take to dry?
Drying time varies by thickness. Most pieces dry within 24–72 hours.
3. What paints should I use on air-dry clay?
Acrylic paint and paint markers both work well. Seal with a clear varnish for durability.