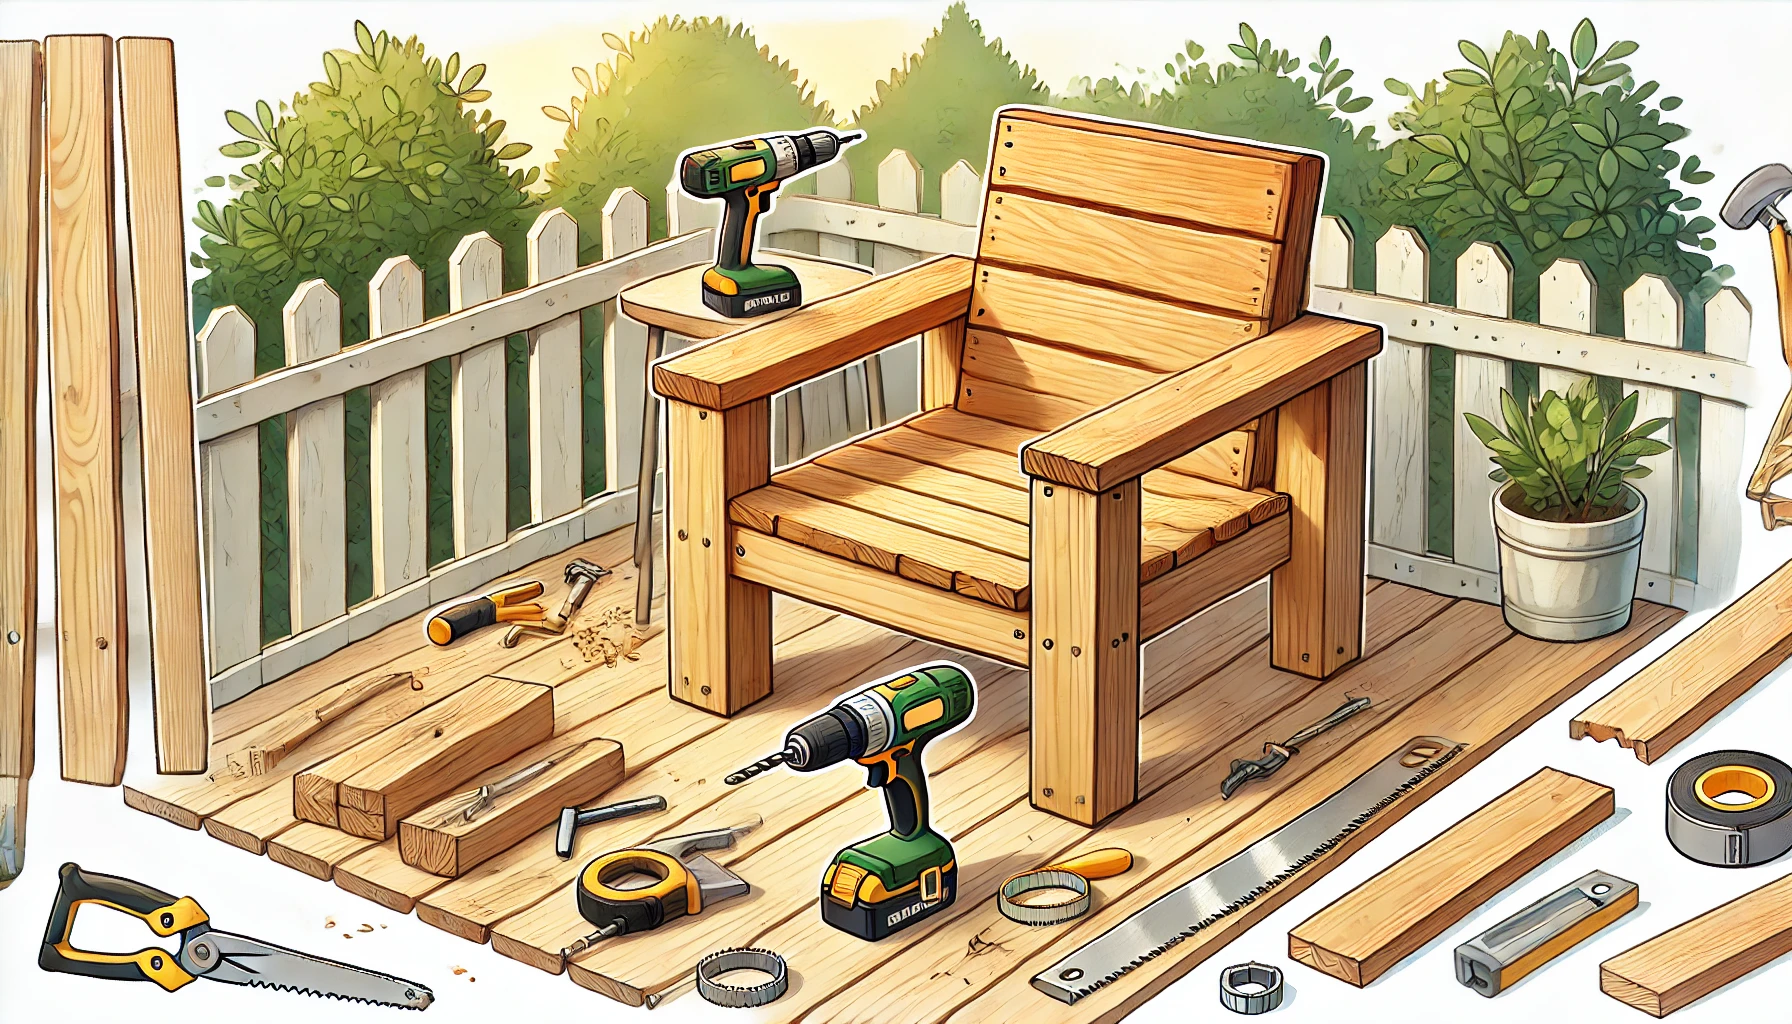
I’m not one to buy what I can make. If I see a chair with a $200 tag, I laugh, then head to my garage. This DIY outdoor chair project was one of those “let’s see if I can pull it off” moments — and boy, it turned out better than I expected.
Now, if you’re the kind who loves tools but doesn’t have a fancy workshop, don’t worry. You can make this modern outdoor chair with basic tools and 4×4 lumber. Whether you’re a seasoned builder or just getting your hands dirty for the first time, you’re gonna love this.
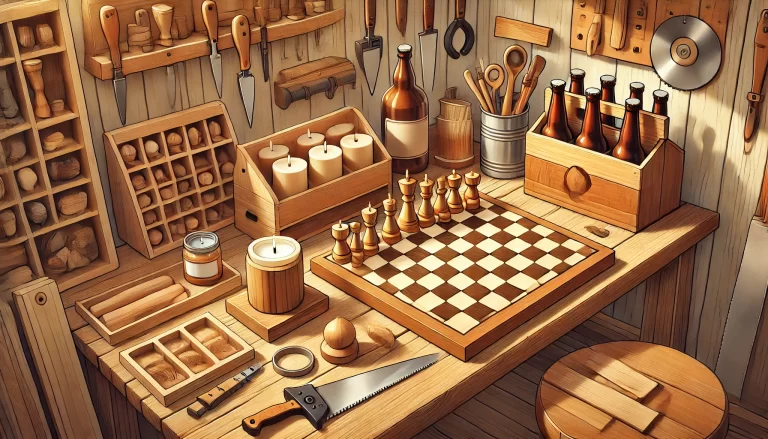
🧰 Materials & Tools You’ll Need:
Materials:
- 4×4 Douglas Fir lumber (not pressure treated)
- Wood glue
- 5-inch lag screws
- Wood dowels (to cover screw holes)
- Wood conditioner
- Wood stain (your choice of color)
- Polyurethane (for outdoor protection)
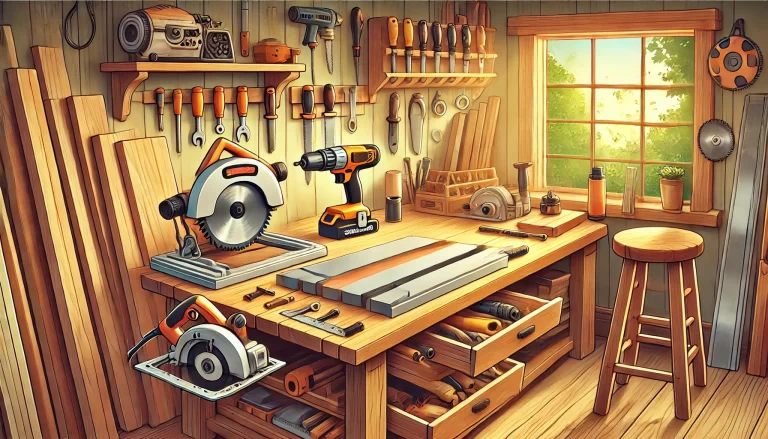
Tools (you can swap or rent):
- Miter saw (or circular saw)
- Drill with bits
- Table saw (optional, for precise rabbets)
- Chisel + hammer (if no table saw)
- Multi-tool (optional, but helps a lot)
- Clamps or ratchet straps
- Flush cut saw (for dowels)
- Sandpaper or power sander
🪚 Step-by-Step: How to Build This DIY Outdoor Chair
1. Cut All Chair Pieces First
Start by cutting your lumber into the following pieces:
- 9 pieces: seat slats and side seat frame
- 4 pieces: legs
- 2 pieces: seat supports
- 3 pieces: width spacers (for the chair’s front and back)
Use a miter saw if you have one, or rent it for a day. If not, a circular saw works too — just be sure your cuts are square.
2. Create the Seat Joinery (Rabbet Cuts)
Take three of the seat slats. These need rabbets on both ends to rest into the chair frame.
If using a table saw:
- Make two passes on each end to carve the rabbet.
- Test your cut on scrap first!
If no table saw:
- Mark the rabbet area with a pencil.
- Use a multi-tool or handsaw + chisel to remove wood.
- Clean the edge for a tight fit.
🔧 Tip: It doesn’t have to be perfect. It’s for outdoors — focus on sturdiness, not museum finish.
3. Assemble the Chair Arms
Each arm consists of 3 pieces: a vertical post, a top rail, and the horizontal seat support.
- Apply wood glue at each joint.
- Clamp or strap the pieces tightly.
- Drill a pilot hole.
- Insert one 5-inch lag screw per joint.
- Repeat for the second arm.
👉 Use ratchet straps if you don’t have big clamps. They work wonders! 🧠
4. Join the Arms with Front and Back Crosspieces
- Measure and drill holes at the bottom of each arm.
- Use 7/8″ bit to make a shallow hole for the screw head.
- Use smaller bit to drill into the connecting lumber.
- Drive in the lag screw.
- Repeat for all four corners.
Hide the screws:
- Insert wooden dowels into each hole with a bit of glue.
- Use a flush cut saw to trim them flat.
5. Attach the Seat Base
- Use scrap wood as spacers to hold the seat supports level (front and back).
- Glue and screw the seat supports between the arms.
- Add a support beam in the middle (under the seat).
- This adds stability and helps align the slats later.
6. Install the Seat Slats
You’ve got nine seat slats to install:
- Start from the back and work forward.
- Use small scrap spacers to keep even gaps.
- From underneath, drill two screws per slat into the seat supports.
- Repeat until all slats are installed.
7. Attach Side Seat Rails
These sit flush on the outer edge of the seat.
- Glue and screw each into place.
- These pieces also hide the slat ends and give the chair a finished look.
8. Sand, Condition, and Stain
- Sand every surface smooth. Use 120 or 150 grit for softening corners.
- Apply wood conditioner to prevent blotching.
- After it dries, apply the wood stain of your choice.
- Wait a few hours and finish with 2 coats of polyurethane for weather protection.
🪑 You just built a diy outdoor chair that’ll survive seasons and still look sharp!
9. (Optional) Add Cushions
You can buy ready-made outdoor cushions or try making your own later. The base is standard-sized, so finding a match is easy. And trust me — after this build, sitting down on it with a lemonade feels extra satisfying 😎.
🔧 FAQ
1. Can I build this diy outdoor chair without a jointer or table saw?
Yes! You can use a handsaw and chisel for the joinery. It’ll take longer but works fine.
2. How much does it cost to make one chair?
If you already have basic tools, materials cost around $60–$80 depending on lumber prices.
3. Can I use other wood besides Douglas Fir?
Yes. Cedar or redwood are great for outdoor use, just seal them well after finishing.