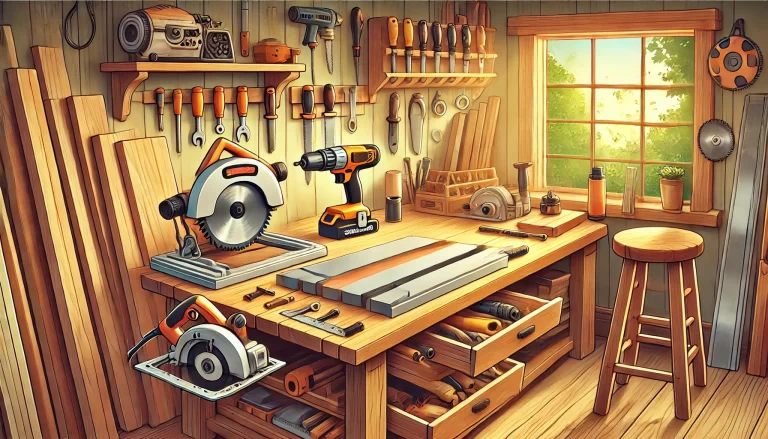
If you’re a father, grandfather, or just someone who enjoys working with your hands, you might think: “Why pay someone to do it when I can do it myself?” This mindset not only saves money but also builds confidence and skills. However, some of the younger generation seem hesitant to dive into DIY projects. That’s why Here are these 25 woodworking tips and tricks to help you get started, avoid common mistakes, and enjoy the process.
25 Woodworking Tips and Tricks for Beginners
🔨 1. Use One Measuring Tool
When starting a project, pick one measuring tape or ruler and stick with it until the end. Even high-quality tapes can differ slightly—up to 1/16 or 1/8 inch. If you switch between measuring tools, those tiny differences can add up and throw your whole project off. Keep your measurements consistent by using the same tool from start to finish.
🔨 2. Mark Your Boards Clearly
Before making any cuts, mark your boards with a check, tick, or X to indicate which side to keep and which to discard. As you move pieces around or make multiple cuts, it’s easy to forget. Clear, simple markings prevent mix-ups and save time. You can even use colored pencils or markers for better visibility.
🔨 3. Account for the Saw Blade Kerf
Every saw blade removes a small amount of wood, called the kerf—usually about 1/8 inch. If you cut directly on your pencil line, the blade will eat into your measurement, making the piece too short. Always plan which side of the line to cut on and adjust for the kerf. It’s a small step that keeps your cuts accurate.
🔨 4. Drill Accurately with an Awl
When drilling, the bit might wander, especially on hardwoods. Use an awl or a sharp nail to make a tiny divot where you plan to drill. This helps guide the bit into position, reducing slipping and ensuring your hole starts exactly where you want it.
🔨 5. Choose the Right Screws
Drywall screws are designed for walls, not wood. They’re thin and brittle, and the heads can easily snap off under pressure, leaving you with a stuck screw. Instead, use construction screws for structural projects or pocket-hole screws for joinery. They’re stronger, more durable, and designed for woodworking.
🔨 6. Always Have a Plan
Before you touch a tool, sketch or print out a plan. Write down measurements, angles, and material lists. A plan saves you from last-minute hardware store trips and ensures all parts fit together. Even a rough sketch on scrap paper is better than no plan at all.
🔨 7. Use Stop Blocks for Repeat Cuts
When you need multiple pieces of the same size, set up a stop block on your saw. Measure the first piece, set the block, and make all subsequent cuts by sliding the wood against it. This eliminates the need to measure each time and ensures uniform pieces.
🔨 8. Check Factory Lumber Cuts
Don’t assume the lumber from the store has perfect 90-degree ends. Use a square tool to check. Even a few degrees off can mess up your angles and joints. If the board isn’t square, make a clean cut before starting your project.
🔨 9. Know Actual Lumber Dimensions
A “2×4” isn’t exactly 2 inches by 4 inches—it’s 1.5 by 3.5 inches. This can throw off your measurements if you’re not prepared. Always measure your lumber before cutting or planning, especially if you’re mixing hardwoods and softwoods, which might have different sizing.
🔨 10. Organize Your Workspace
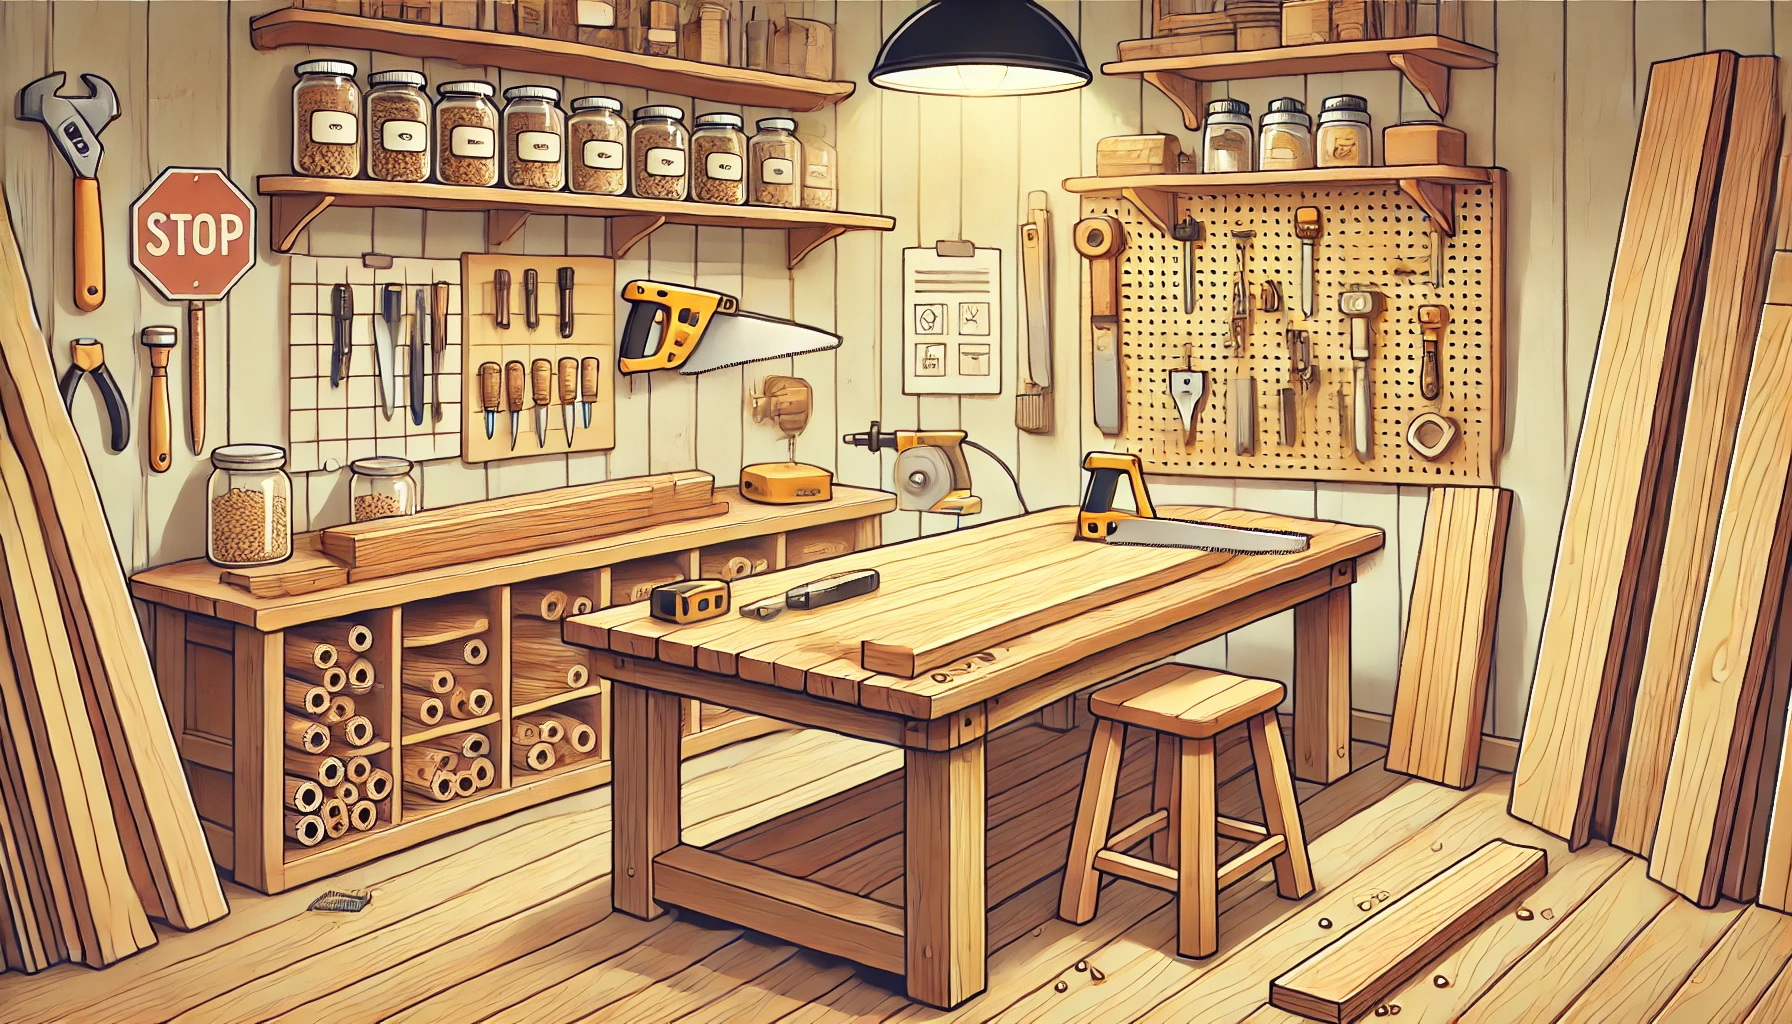
Keep tools close to where you’ll use them. Store drill bits near the drill, saw blades near the saw, and clamps within reach of your workbench. This saves time and prevents accidents. Use pegboards, rolling carts, or labeled bins for easy access.
🔨 11. Test Stains on Scrap Wood
Different types of wood absorb stain differently. Test your chosen stain on a scrap piece from your project’s wood batch. This shows you the true color and finish before committing. If it’s too dark or light, adjust the number of coats or switch to a different product.
🔨 12. Use Bright Lighting
A well-lit workshop helps you see details like pencil marks, grain direction, and imperfections. Install overhead lighting and task lights above your workbench. This reduces eye strain and makes mistakes less likely.
🔨 13. Wear Safety Gear
Always use safety glasses to protect your eyes, ear protection to reduce noise damage, and a dust mask or respirator when sanding or cutting. Even small particles can be harmful over time.
🔨 14. Build Simple Jigs
A jig is a custom guide for making repeat cuts or angles. It doesn’t have to be fancy—a scrap piece of wood can do the trick. Jigs help with consistency, save time, and reduce measurement errors, especially for beginners.
🔨 15. Start with Budget Tools
If you’re new to woodworking, start with affordable tools. This lets you build basic skills without a huge investment. As you gain experience, upgrade to high-end tools for better performance and precision.
🔨 16. Make a Temporary Workbench
No workbench yet? Use two sawhorses with a sheet of plywood or MDF on top. This gives you a flat, sturdy surface for projects. When you’re ready, build a custom workbench based on your needs.
🔨 17. Plan for Tool Storage
Organize your workshop to keep tools and accessories within arm’s reach. Pegboards, toolboxes, or magnetic strips can hold everything from chisels to screwdrivers. An organized shop improves efficiency and safety.
🔨 18. Keep Tools Calibrated
Before each use, check your square tools, levels, and tape measures for accuracy. Even high-end tools can shift or wear out. Regular calibration ensures your cuts are straight and your projects are precise.
🔨 19. Use Rolling Systems
Small workshops benefit from rolling cabinets or carts. Mount heavy tools like table saws, planers, or sanders on mobile bases. This lets you move tools into position and save space when not in use.
🔨 20. Learn Before Buying Expensive Tools
Take a woodworking class or watch online tutorials before purchasing expensive equipment. Learn proper techniques and see if the tool fits your needs. This prevents wasted money and frustration.
🔨 21. Avoid Cheap Screws
Low-quality screws can snap or strip, ruining your project. Invest in durable screws designed for woodworking, such as construction screws or specialty fasteners.
🔨 22. Allow for Wood Movement
Wood expands and contracts with temperature and humidity changes. If you leave a project unfinished for a few days, the wood might warp. Always check measurements again before final assembly.
🔨 23. Clamp for Safety and Precision
Use clamps to hold pieces in place while cutting, drilling, or gluing. This not only improves accuracy but also prevents boards from shifting and reduces the risk of injury.
🔨 24. Stain Test Before Final Finish
Before applying stain to your entire project, test it on a scrap piece of wood. This ensures the color and finish are exactly what you expect, avoiding costly mistakes.
🔨 25. Build Confidence with Practice
Don’t expect perfection on your first try. Mistakes happen, and they’re part of learning. Each project you complete will teach you something new. The more you practice, the better your skills will become.
FAQ
1. What are the best woodworking tips for beginners?
Start with a clear plan, use one measuring tool, test stains on scrap wood, and prioritize safety gear for your projects.
2. How can I ensure my cuts are accurate?
Account for the blade’s kerf, check lumber for square edges, use stop blocks, and clamp boards for precision.
3. How do I organize a woodworking workshop?
Store tools near accessories, use pegboards or rolling carts, maintain good lighting, and keep tools calibrated for accurate work.

